I want to show you how to make your very own nail dotting tool! :D You (or someone in your family) SHOULD have these things...
1st and small method- Get a bobby pin, and bend it! You can see the before and after pics.
Before After
2nd and a bit larger method- A sewing pin and a pencil with some eraser on it. Again before and after.
Before After
Extra Methods- end of a small paint brush, a ink less ballpoint pen, the toothpick (especially the ones with a flat end) , and tons more things. You can pretty much use anything that is small and round. Hope that helped :)
Okay, so now onto these purple gradient type nails! Obviously my fave color is purple but you can use any color(s) for this design. :)
Okay so first the polishes I used:
Ok (from left to right): Purple Diamond by Sinful Colors, Purple Pizzazz Frost by NYC, Disco Ball by Sally Hansen Extreme Wear, and my top coat Invisible by Sally Hansen Extreme Nails. Of course though you can use any colors. I used a sheer polish instead of glitter for gradient nails-oh well. (If you are using a glitter polish skip down to Method 2: "Gradient Way")
To get started ( sorry by the way that I don't have pics for all of the steps), Method 1:
"Blended Way"
1. Do 2-3 coats of Purple Diamond by SC on whole nail.
2. Mix SC with a little bit of NYC on paper. Paint 3/4 of your nails with that first mixture.
3. Do half of the mix SC and other half NYC so it should get a bit darker. Use this second mix on half of your nail.
4. Now do mostly NYC and just a little bit of SC, mix that and do that on your tips, it doesn't have to be perfect-just take your time.
5. Next, take a clear or purple glitter polish and do one thin layer over your nails to make it look more blended.
6. Lastly, to finish it off, do a clear top coat.
Method 2: "Gradient Way"
You need one colored glitter polish and top coat.
1. Do one thin coat of glitterpolish over 3/4 of your nail. Wait a minute for that to dry a little.
2. Do one coat of the same polish over 1/2 of your nail. Wait another minute.
3. Again do another coat of same polish over the tips of your nails.
4. Do seal it in and to make it look shiny, give it one top coat.
Okay sorry if this was confusing at all... but I hoped it helped you some at least :) Also, tell me if there is something you'd like a tutorial on or if you have any questions or comments.
Buh-Bye
~Courtney


 Flowers on a tree:


 Pretty Hand Painted Flowers for my mom's B-Day:


 These are some random nail designs:
 White with blue stripe and two little roses. Some hoops and dots.


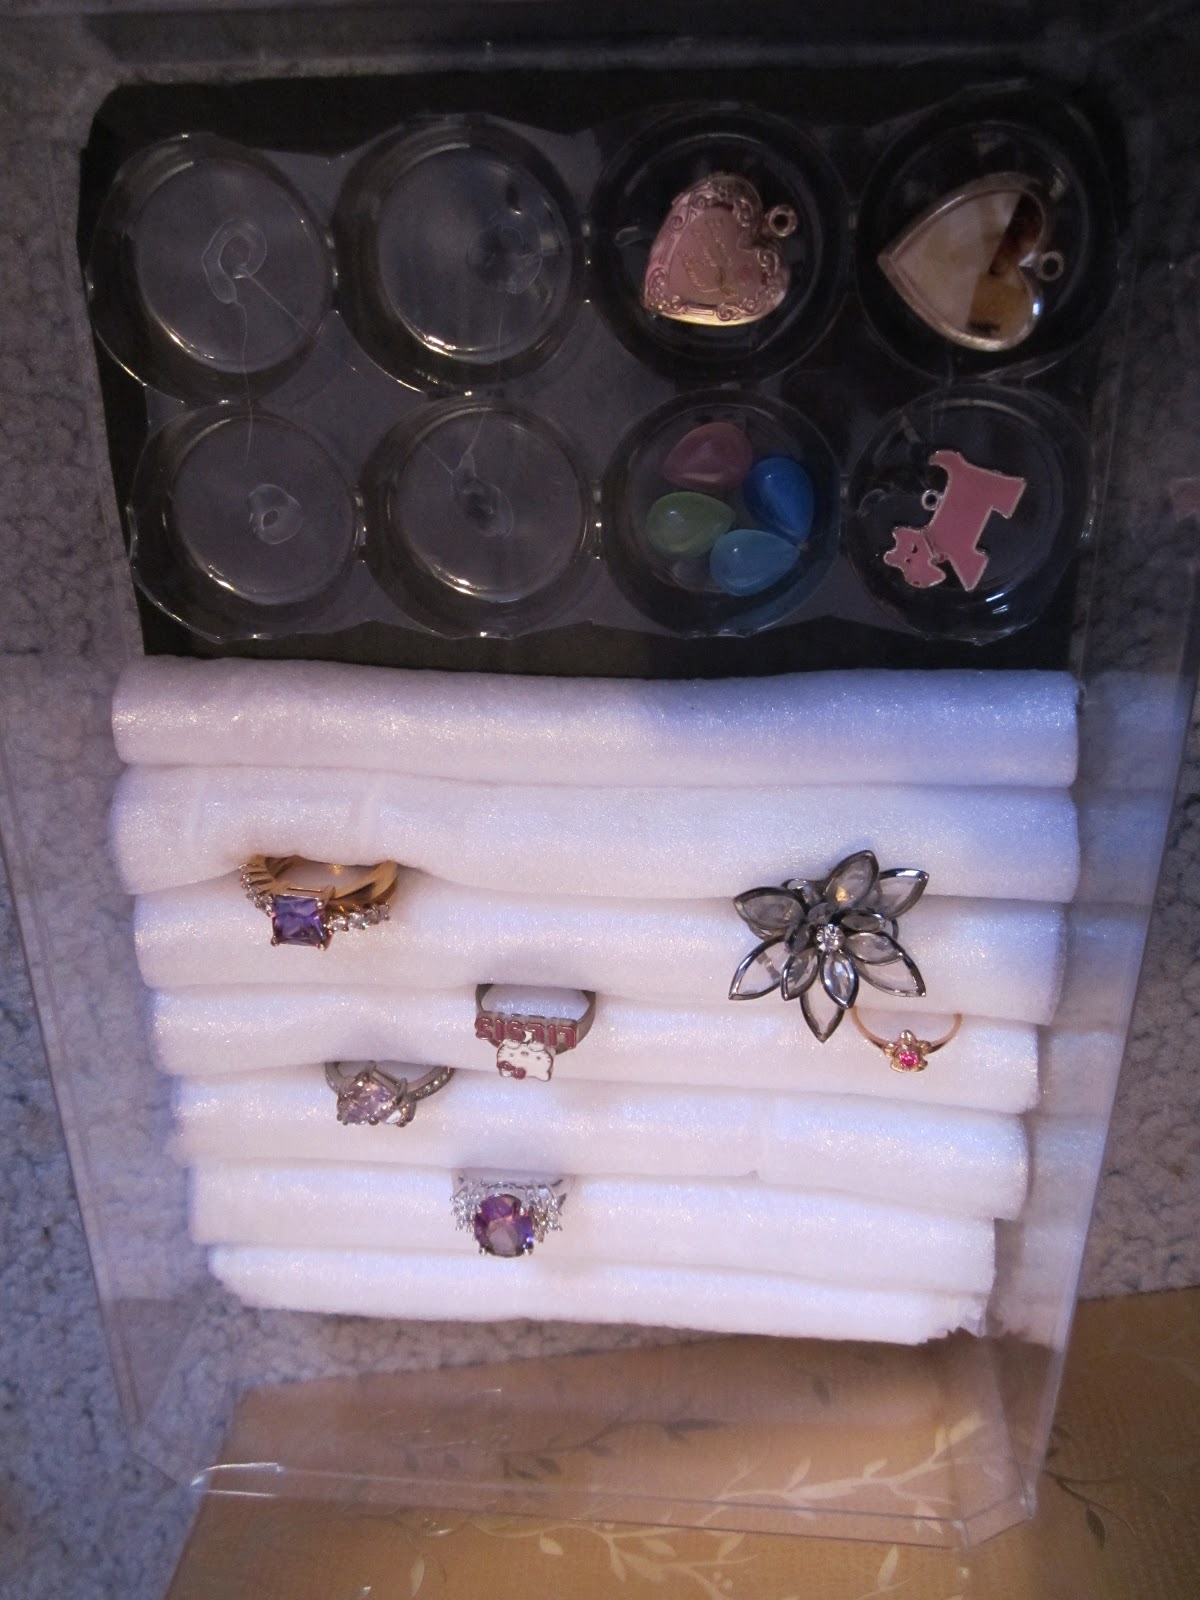 I was obsessed with making these! They are so cute, work, you recycle, and its pretty much free.

 You want to get the measurements of your box or just free hand it, and cut the foam sheets to length. Then, you roll on all the way so its about half an inch in diameter maybe? Use your hot glue and secure the rolls by gluing the edge down, then cut access.
 Then make sure the length of the rolls are the same as the box. Cut if needed, then get your hot glue again and firmly and evenly glue the rolls in rows in your box. Next, when you have glued all rolls, you can decorate the outside of the box or just start putting the rings in right away.


 So I took my cereal box and cut all the way around so I had a five faced box because there was no top. Then with the rest of the cardboard, i made strips while measuring with a ruler, and marking with a pencil. Then you cut slits so they would go perpendicularly and make slots. I made surer it fit then just used my hot glue gun to glue in all the sides.


 And the difference between my brush and the nail art polish brush: